¶ What is LaunchPass?
LaunchPass is a Frontend that is capable of launching ROMs in most Emulators on Xbox One and Series S|X Consoles.
¶ Requirements Checklist
-
External USB Drive
You will need a properly formatted USB drive to use LaunchPass. The USB drive must be formatted in NTFS and have the correct permissions - see the Dev Mode Setup Guide for the steps. We recommend using an external SSD for smoother performance. -
Developer Mode on Xbox
To run homebrew applications such as LaunchPass, you need to enable Developer Mode. This allows you to install applications that aren't available from the Microsoft Store. If you haven't enabled Developer Mode yet, don't worry - we've got you covered here. -
LaunchBox
You will need LaunchBox to use LaunchPass.
¶ Setting up Launchpass on Xbox
- On your computer, go to Xbox Dev Store.
- Download the latest version of Launchpass.
- You'll get the .MSIX file (LaunchPass)
¶ Transfer the Files to Xbox
- Go to Xbox Dev Mode on your Xbox. Look for the IP address of your Xbox on the Developer Home Screen (it looks like 192.168.x.x).
- On your PC, open a web browser and enter the Xbox IP address in the URL bar. This opens the Xbox Device Portal.
- Sign in using your Xbox Developer credentials.
¶ Upload LaunchPass
- In the Device Portal, go to My Games & Apps.
- Click Add, then select Choose File.
- Upload the LaunchPass .MsixBundles file
- Click Next and follow the prompts to install.
- Go to Dev Mode on your Xbox then Select LaunchPass and click Guide button on your controller > View Details
Turn LaunchPass Game to App to be able to use Launchpass properly.
Troubleshooting: If the app doesn’t install correctly or gets stuck, refresh the page and retry.
¶ Install LaunchBox on USB
- You will need to Download LaunchBox.
- Open LaunchBox Setup App then Choose USB Location (E:\LaunchBox) to install on USB instead of Local Computer User.
¶ Setup Emulators on LaunchPass
- Open LaunchBox on your USB
- Go to MENU > Tools > Manage > Emulators
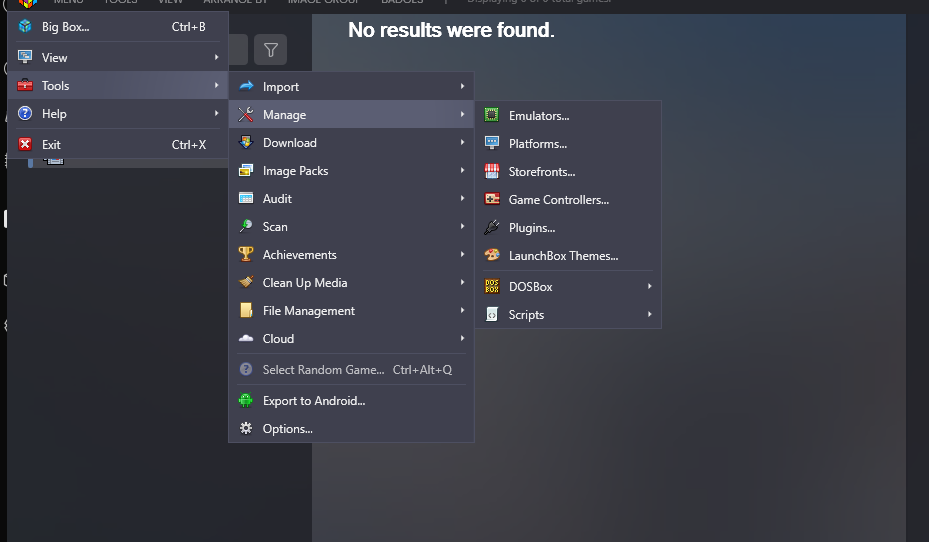
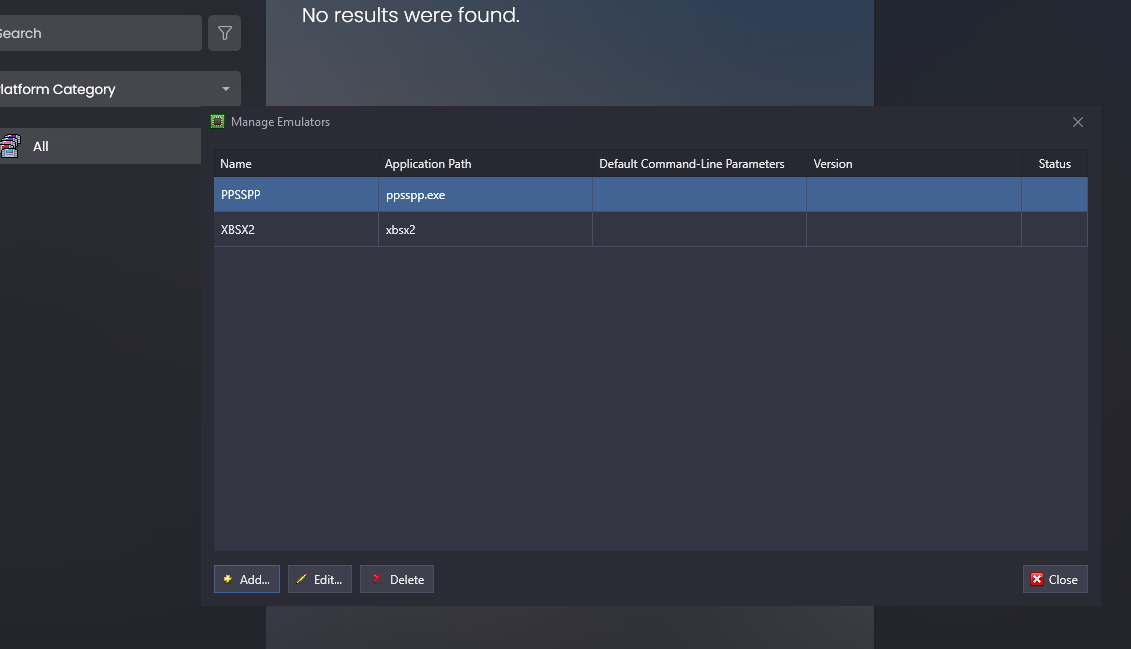
- Click Add button
I'm only gonna create for PS2/PSP Games, You can add many emulators you wish
¶ XBSX2 Installation on LaunchPass
-
Make sure to write Emulator name correctly and then for Application Path, Make sure they are in lowercase.
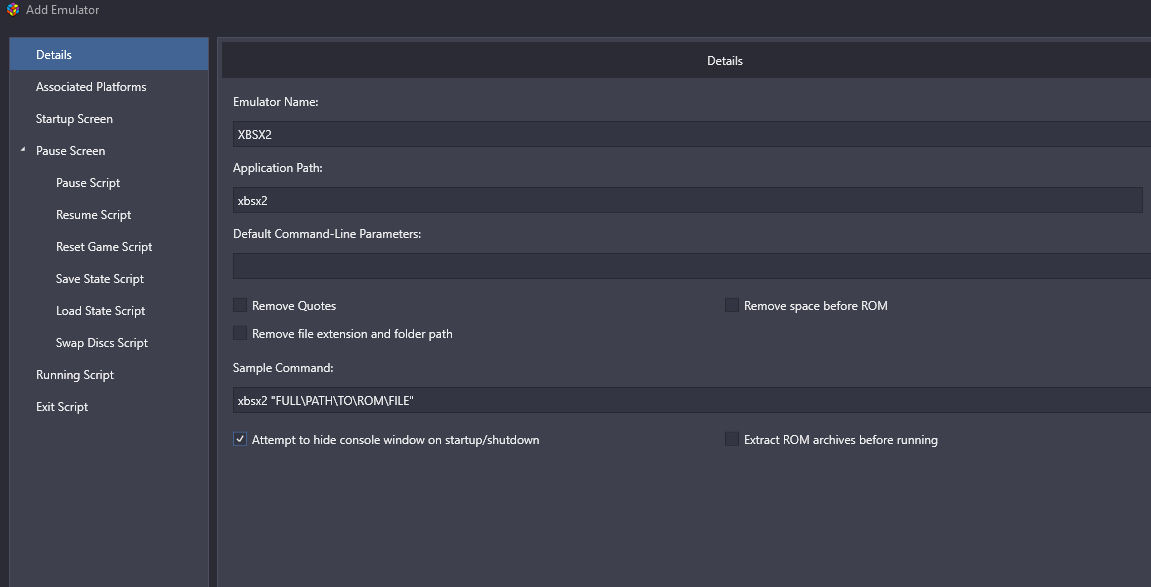
Check "Attempt to hide console window on startup/shutdown" -
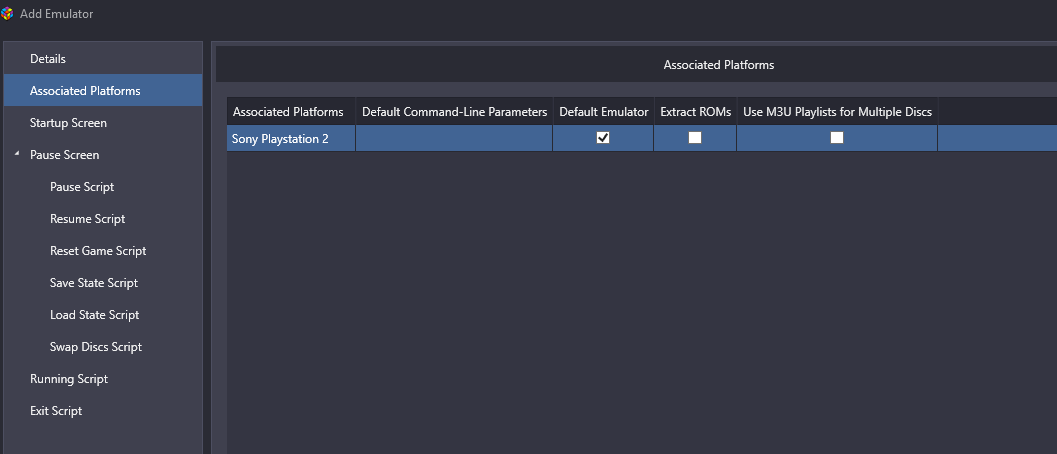
Go to Associated Platforms Tab > Type Sony Playstation 2
-
Make sure Default Emulator is Checked
-
Click Add once you are done
¶ Standalone PPSSPP Installation on LaunchPass
- Click Add Option on Manage Emulators again
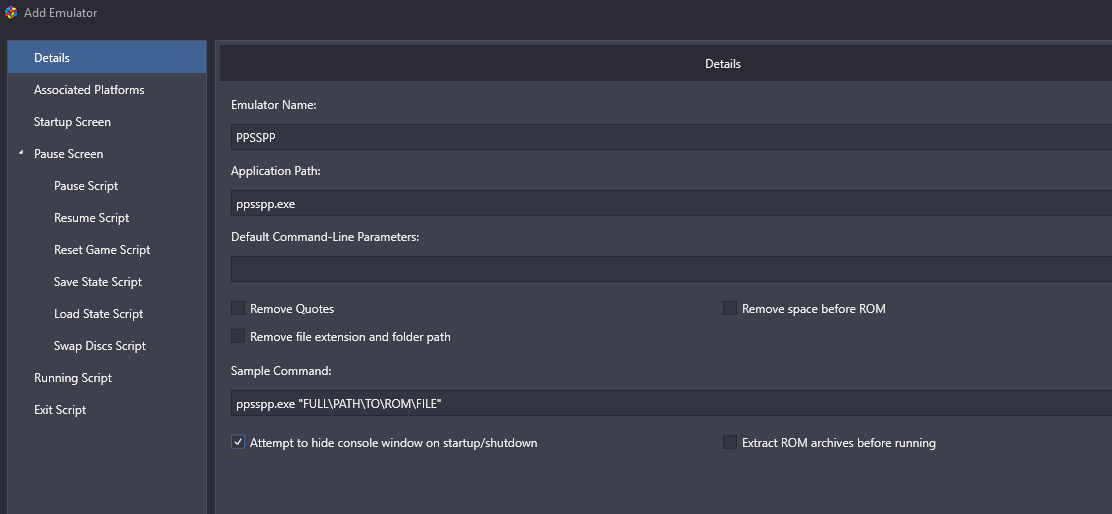
BE SURE TO PUT APPLICATION PATH .exe IN THE END IF YOU ARE USING STANDALONE EMULATOR - Make sure to put What I wrote In the Picture
- Go to Associated Platforms Tab
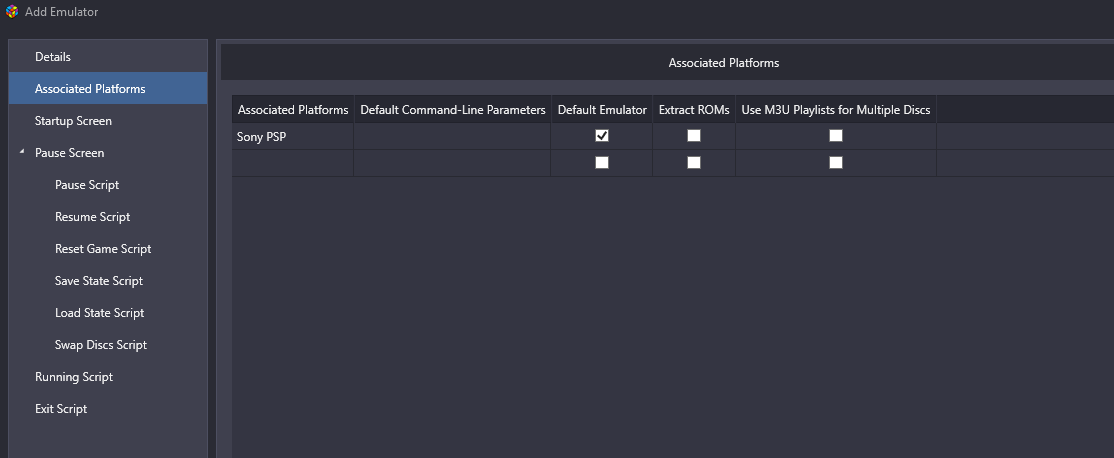
- Put Sony PSP on list then finally Click Add button Once you are done!
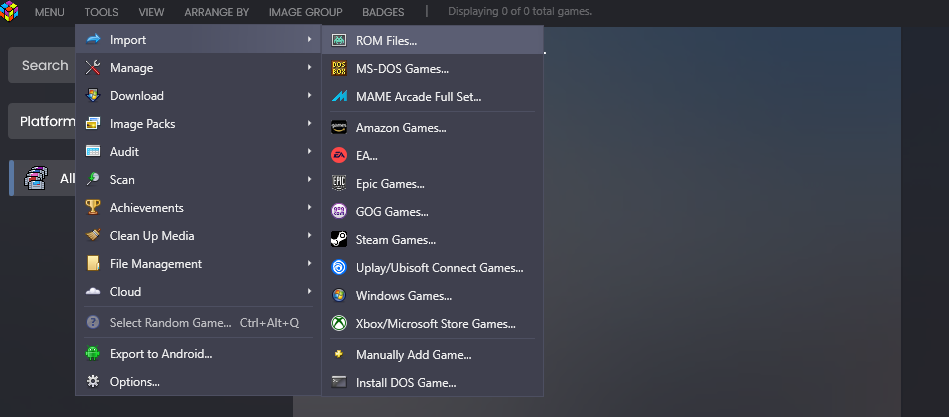
¶ Add Games on Launchbox
- Go to TOOLS > Import > ROM Files
- For XBSX2 Put your PS2 Games Folder there

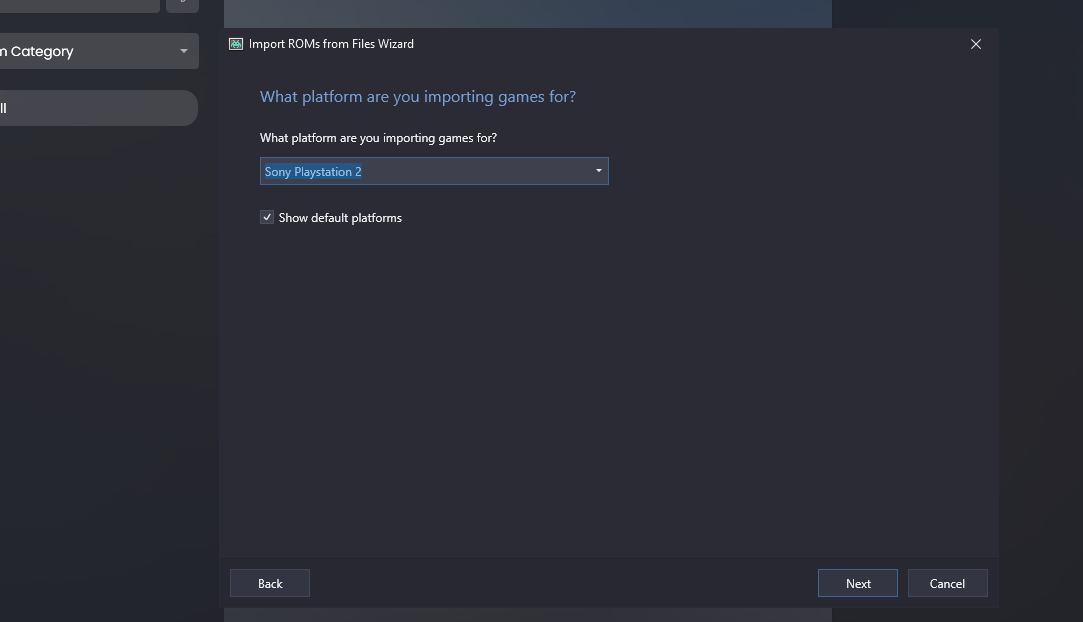
- Click Next Button
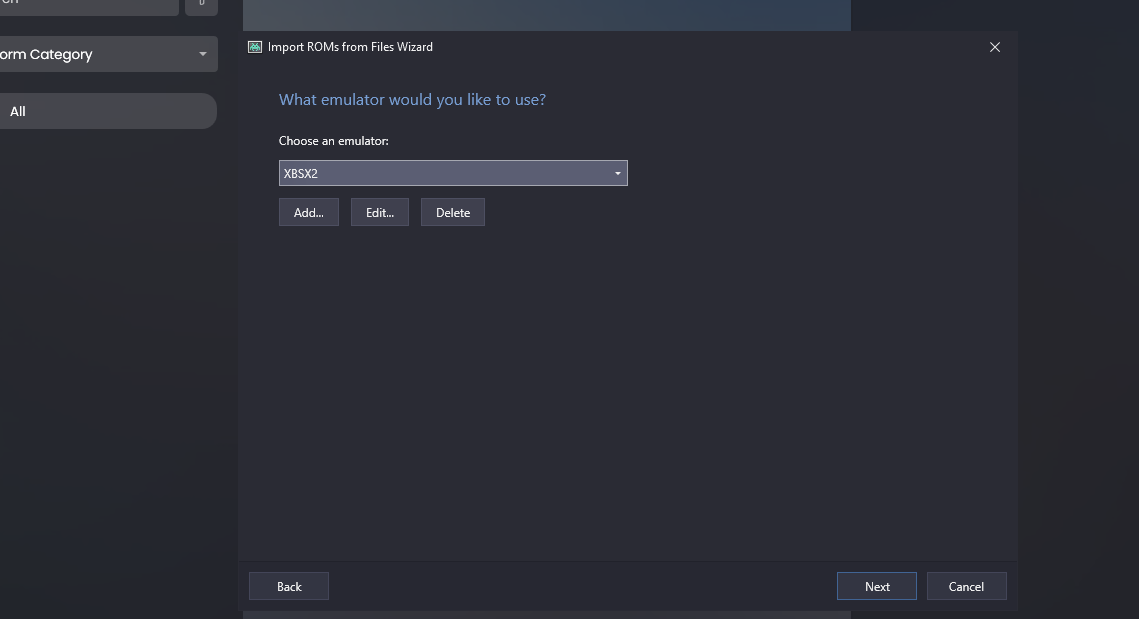
- Choose Sony Playstation 2 From list for XBSX2
- Click Next Button
- XBSX2 is automatically on List you can Click Next Button Again
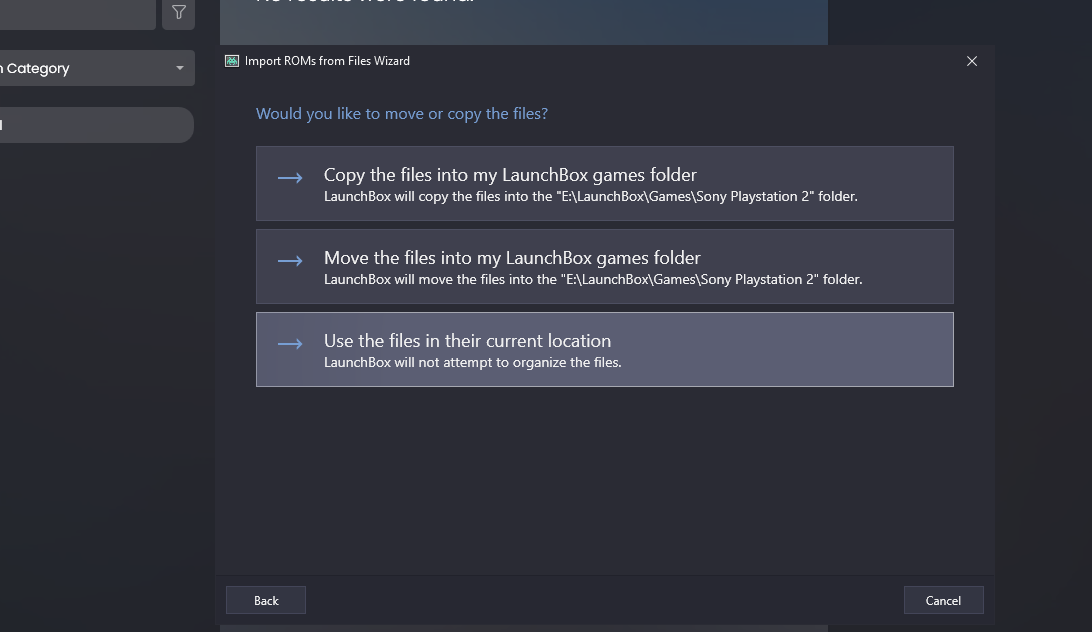
- Use the files in their current Location
- Click Next Button again
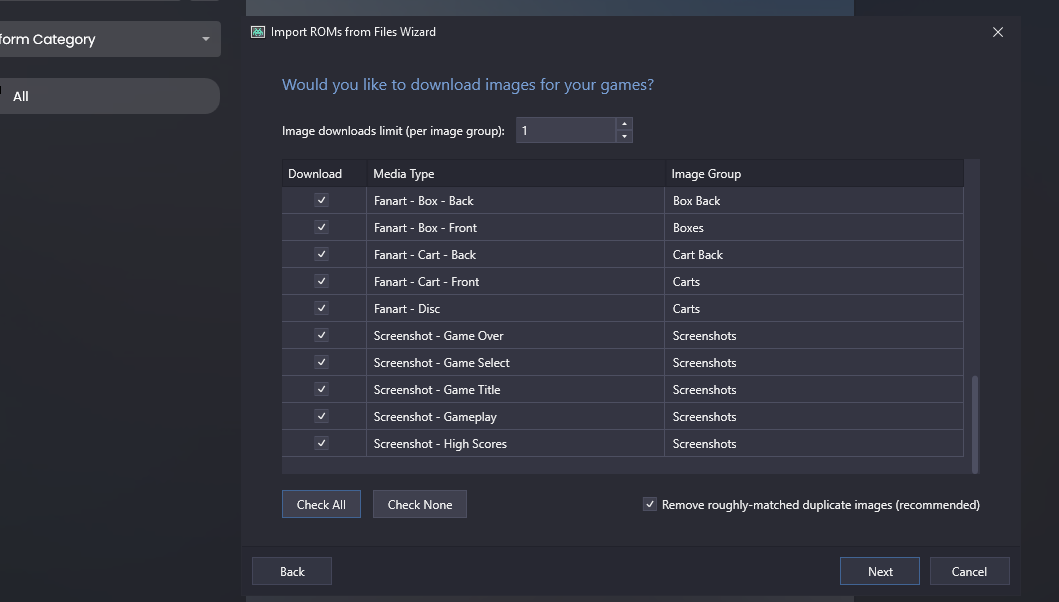
- You can download which covers to load on LaunchPass (I'm gonna Check All)
- Click Next button again (EmuMovies isn't needed.)
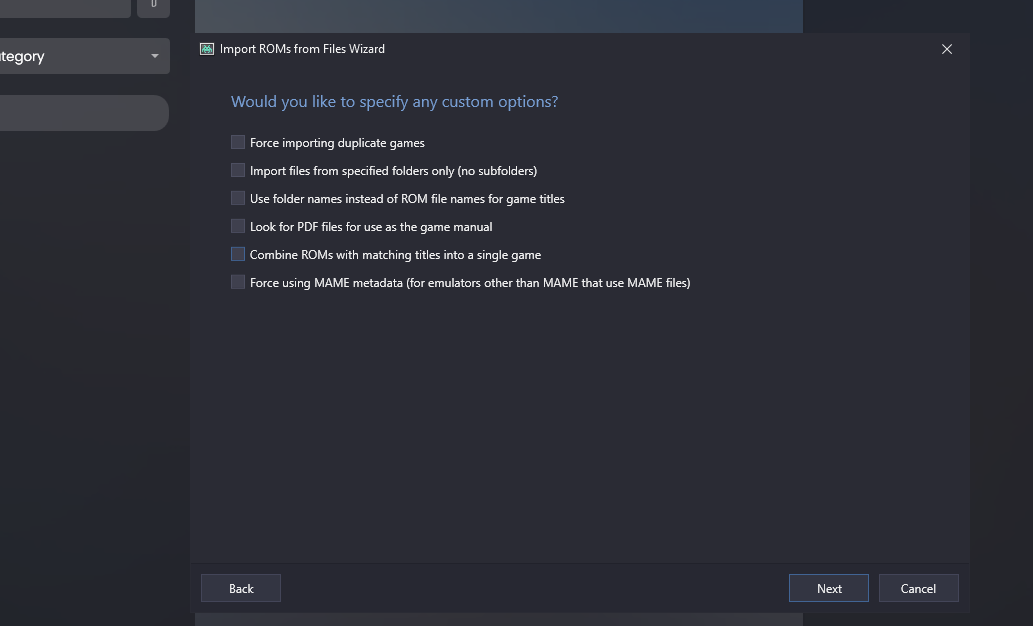
- Make sure to Deselect All Options in the below Picture
- Be sure to check if All Games show up
- Click Finish Button once you are done!

Wait for all coverarts of PS2 Games to download
Once all are downloaded successfully then I will explain PPSSPP Guide
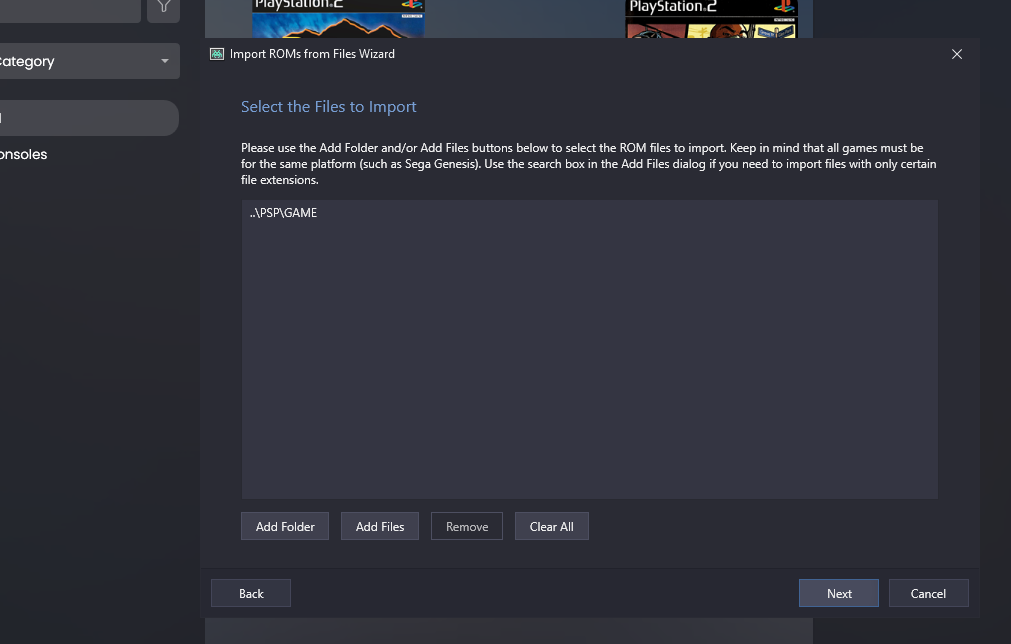
- TOOLS > Import > ROM Files
- For PPSSPP Put your PSP Games Folder there
- Click Next Button
4. Choose Sony PSP From list for PPSSPP
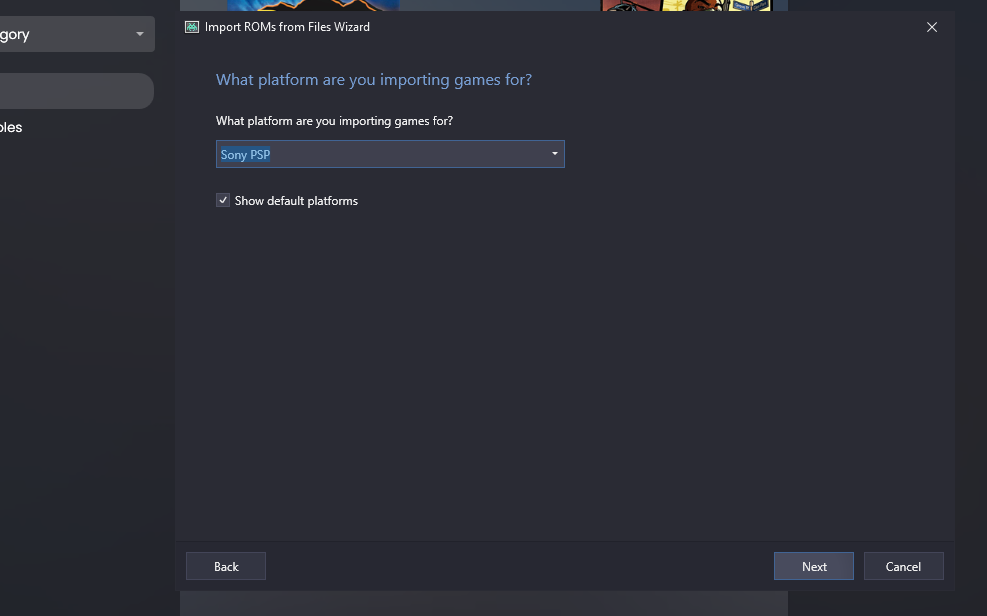
5. Click Next Button
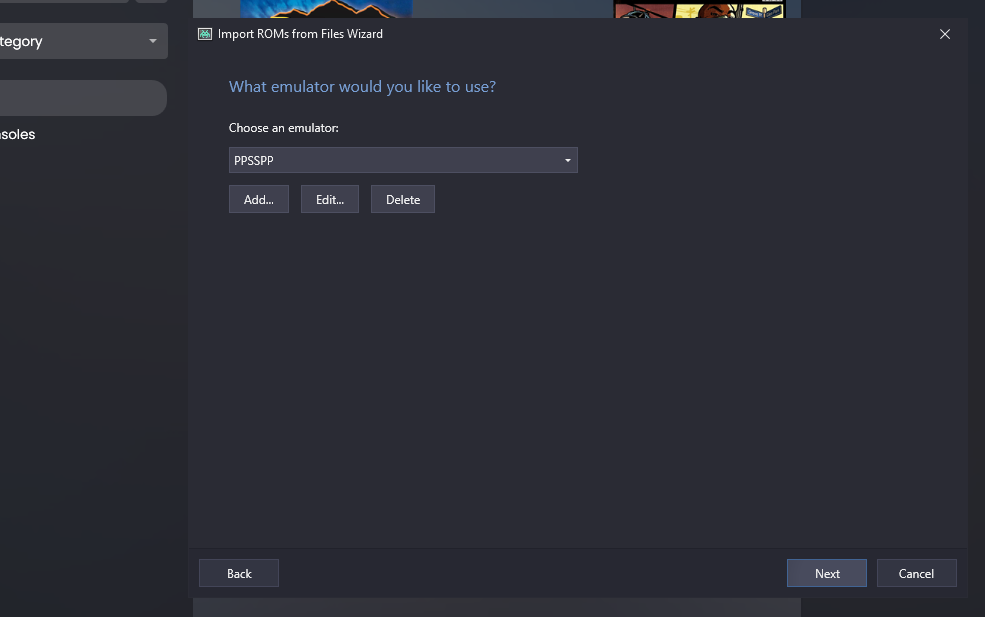
6. PPSSPP is automatically on List you can Click Next Button Again
7 and last, You can do same thing as 7/8/9/10/11 from XBSX2 LaunchPass ^^
then Wait for coverarts to Download then Eject USB and plug into your Xbox Console
then Open LaunchPass on your Xbox Console
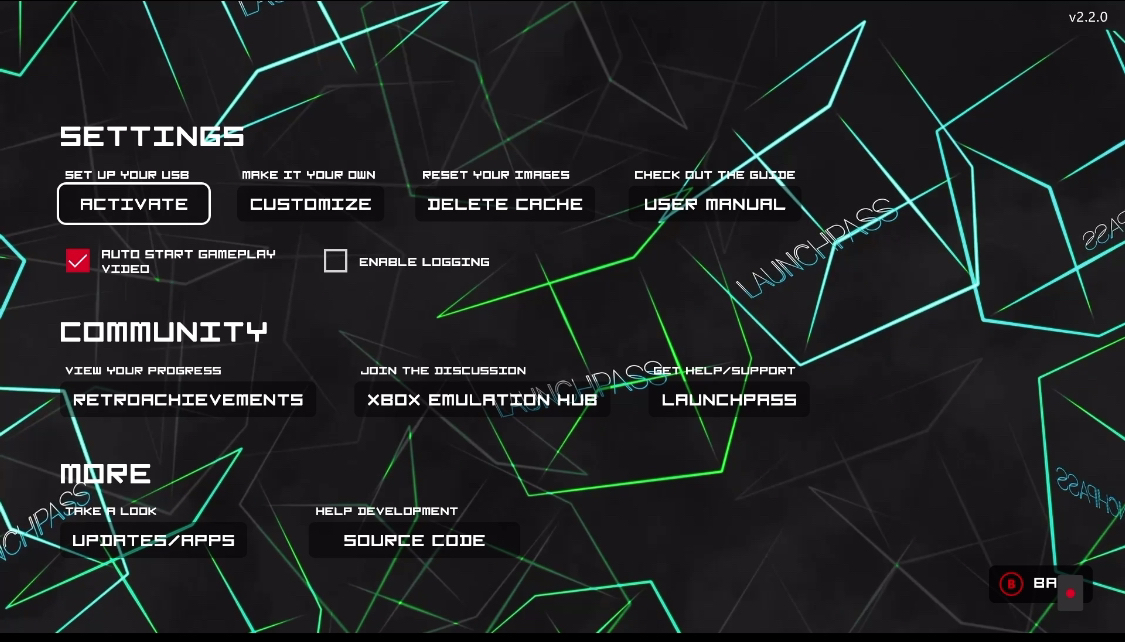
Activate it & Enjoy it!! ^^